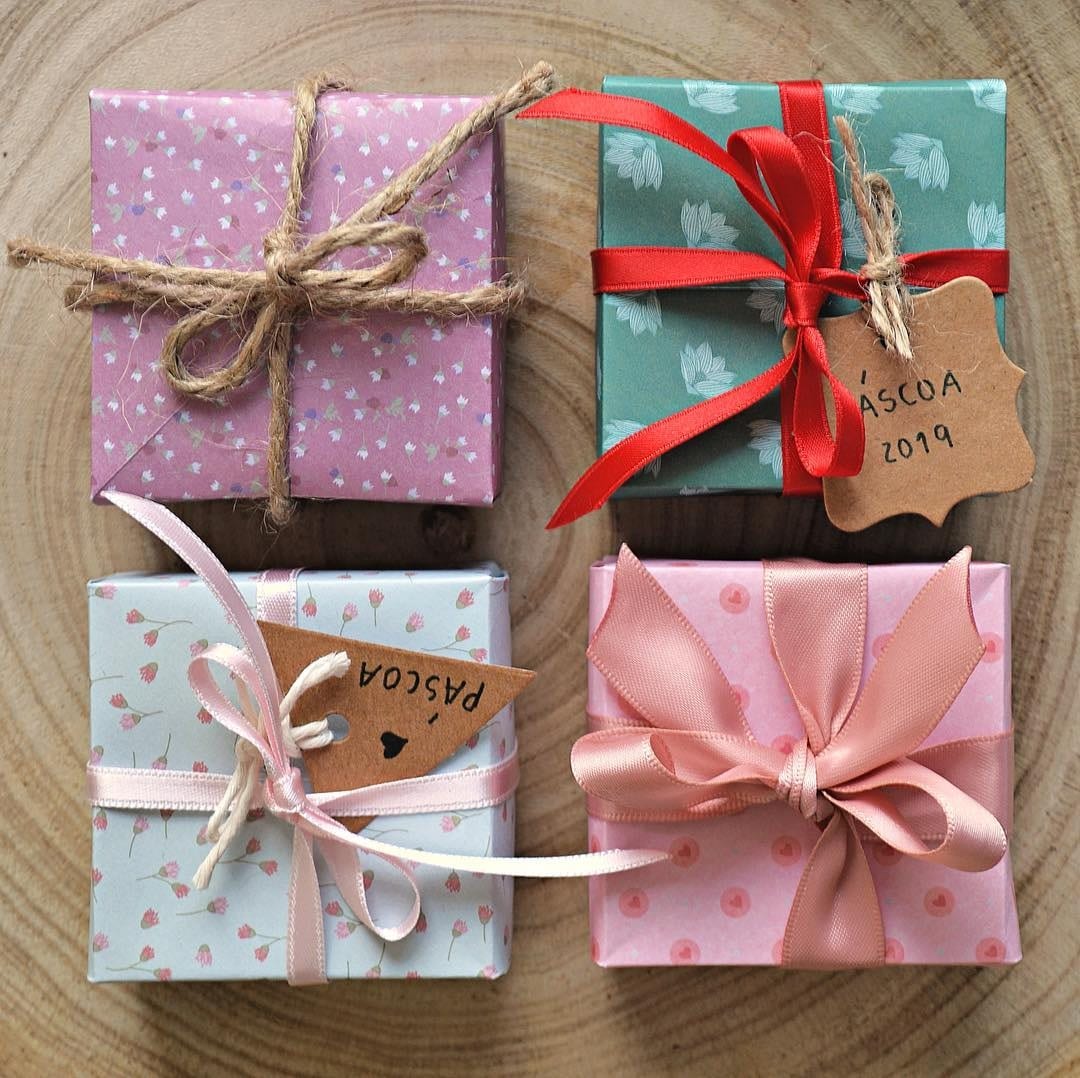
A gift is one of the most significant ways to show your love and affection to others. You can give a feeling of being special to people you love. Obviously, it’s a great idea to go to the market and purchase a gift for someone but imagine the surprising expressions and smiles of your parents, friends, and love ones when you give them a gift packed inside a gift box that you made.

There is a lot of material which you can use to make a handmade gift box. Let’s explore how to make a gift box at home.
Handmade Gift box using Scrap Paper
You will be amazed at how to make a box with the help of scrap paper.

Materials
These are the supplies you require to make a small gift box.
- Two pieces of thin scrapbook paper of 12 by 12-inches
- Scissor
- Paper slicer
- Foam paintbrush
- Ruler
- Glue
Method
Here is how to make a paper gift box step by step.
- Firstly draw an ‘X’ on the backside of the paper to achieve fold lines. These should be in the center to get even folds.
- Give a diamond shape to the paper and fold every corner to the center of ‘X.’ It is essential that the edges must meet evenly that way your box remains symmetrical.
- Now, you have to open the top and bottom flaps while the other two ruffles into the center.
- The next step is to fold them into the center is a way that the straight perpendicular line of margins can match to the erect line of the center.
- After it, bend upright the sides, and top and bottom flaps are folded down so you can attain a diamond shape having vertical lines after every 1 or 2 inches.
- The top and bottom flaps are cut, and you have two triangles now.
- In this step, the top and bottom flaps’ tip is folded in, after opening up the paper.
- Tuck the side triangles in and fold the small upper triangles upon the large triangles. You got these small triangles from the notch. Here is the crease of your box now.
- You make triangle and square by folding the side flaps in the center. Now apply glue on the triangle tip to the center of the earliest X. There is not any special glue for this purpose. A glue stick, Mod Podge, or a standard white glue can be used. You only have to careful and organized when using glue to avoid the mess.
- After gluing down the tips, you have to lift the sides, and wow, here are the sides of your box. Now muffle the top and bottom flaps such a way that their tips touch the center. When you do this, it will make the four sides of the box. Just meet them together.
- In the last step, you will apply glue to everything that remains at the bottom in the triangle between the original X lines. In this way, you get a square box with four sides. It’s the half side of a gift box.

It is a DIY gift box with lid so this method is to create the top half of your gift box, which will be bigger as compared to the bottom part. What should you do now? You have to take the paper of the exact measurement through which you have made the top part and lowers its length and width by cutting to 1/8-inches.
After cutting the paper, you will get the exact size on which you can work to form the bottom half. Now, the same procedure will be repeated. When this process is completed, a beautiful and elegant box will be in front of your eyes. You can adorn this box with beads, laces, or ribbons according to your choice.
In it, we can use cards of different colors as well as printed cards, and